Hello again, my fine friends. It’s been a while since I put together a good meat-and-potatoes journaling post for you, so today’s is a good one. You guys were especially enthusiastic about my monthly layouts post, so I should have shared these weeklies a long time ago.
My weekly spread is one of my favorite additions I’ve made to my journal. It’s not a complicated or fancy, but it works. Planning on a weekly basis seems more natural for me, and it gives me a quick refresher of what my week looks like.
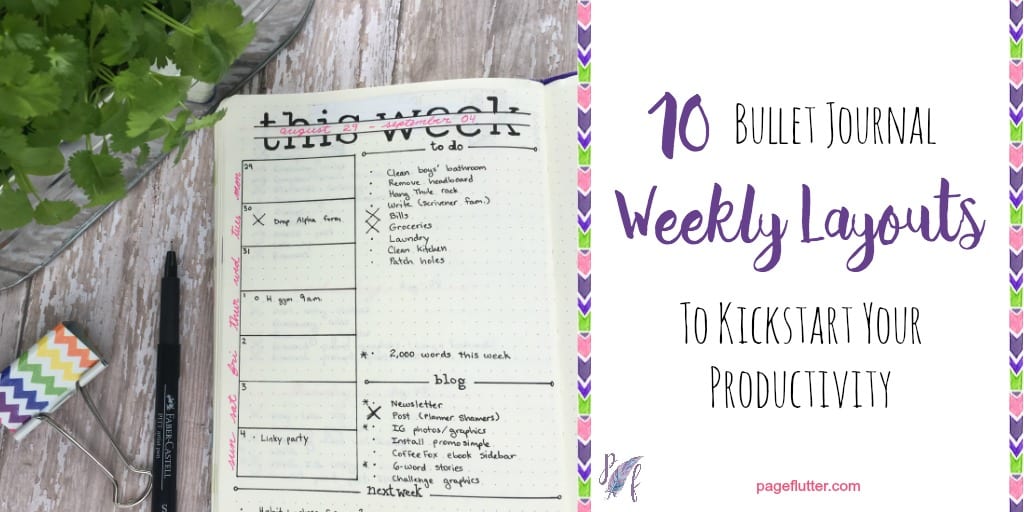
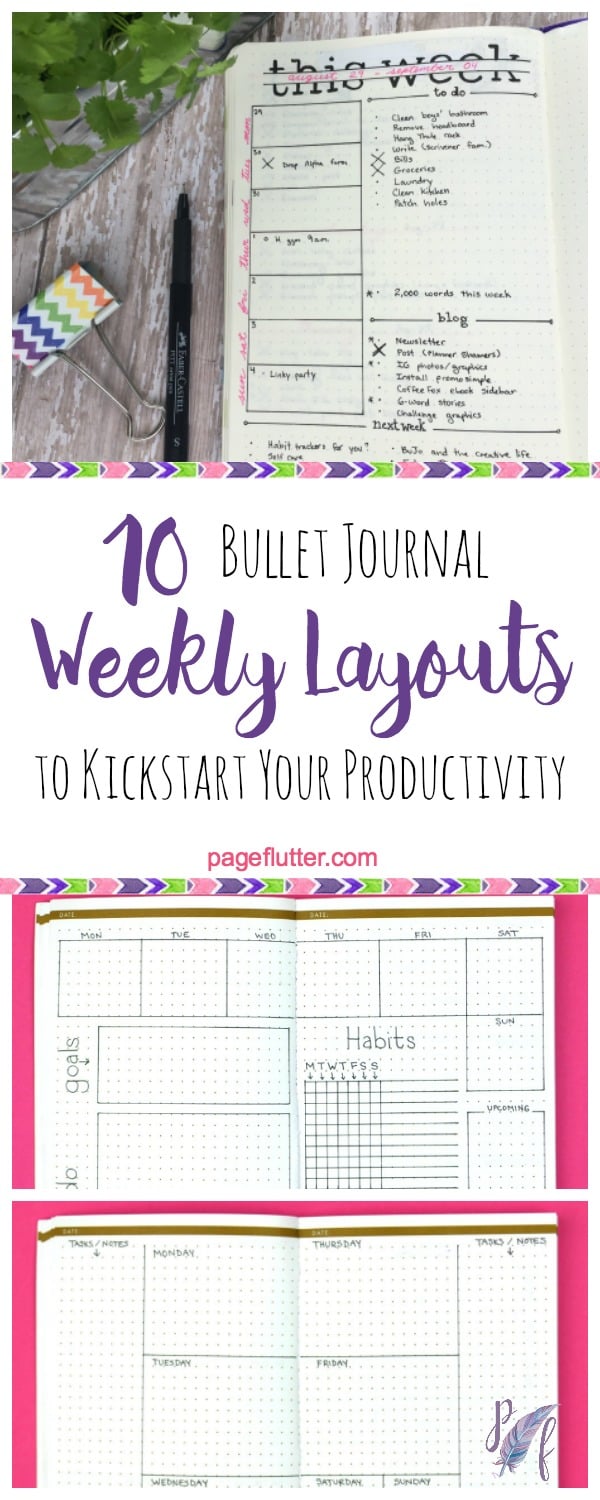
Today, I’ll show you how I use my weekly, and I’ve put together 10 example layouts to inspire your own weeklies. Let’s get this planning party stared, shall we?
Does it mean I’ve abandoned monthly and daily pages? Nope. I still use them all. I’m still a huge fan of the original Bullet Journal system. The weekly simply adds another layer so I get a smaller view of my schedule.
Although I still use dailies, I find I don’t need them quite as often as I used to. I’m able to abbreviate some of my dailies (or even skip a day) without impacting my work flow. Before I moved to weekly planning I had to sit down every evening or I’d be lost the next day.
It also gives me a place to schedule “not today” tasks. That’s especially helpful when I want to do something tomorrow or the next day, but I’m not ready to create a full daily task list yet.
Or..
You might choose a detailed weekly spread that allows you to jump straight from Future Planning to Weekly planning. That’s absolutely fine! Bullet Journaling is like a Choose-Your-Own-Adventure.
I shared the above layout on Instagram, and I’ve been consistently happy with it ever since. I wanted something simple that wouldn’t overtake my flexible dailies.
My weekly is a single page, usually starting on the left of the journal. The corresponding dailies start on the right and tend to spread over a couple of pages.
I dug out my old $3 dotted notebook to practice some formats. Not only did it remind me why I use a high quality notebook (you’ll see the pages are falling out in some of the photos), it made me scrutinize my own planning habits.
I made about 20 different layouts before narrowing down to 10 trusty formats I feel can be customized and manipulated depending on your needs. They are “naked” (oh, my) so you can focus on functionality for now; you can add your unique style/doodles.
I’ve never seen two Bullet Journalists who planned exactly the same way. We’re all different; shouldn’t our journals reflect that? (In fact, I asked myself that very question when I wrote a post called Are You Bullet Journaling the Wrong Way?). My layout is absolutely the right one. For me.
Try these 10 weekly layouts on for size. Play around with them until they’re right for you.
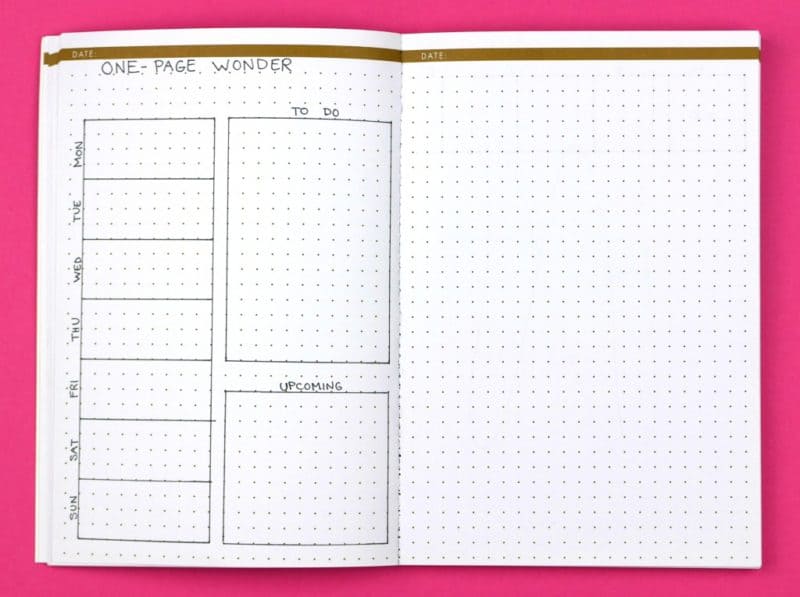
This is my current weekly format. It works well for me, because I usually don’t have more than 1 or 2 scheduled appointments a day. I use dailies to keep track of all the little tasks that go along with being a mom/writer/blogger. Starting with a simple spread keeps me from getting information overload, and I still have the flexibility of using daily spreads (admittedly, you could combine dailies with any of the weekly formats listed here).
I generally start my dailies on the right page and let them flow naturally through the week.
Consider this format if you:
Might not be right if you:
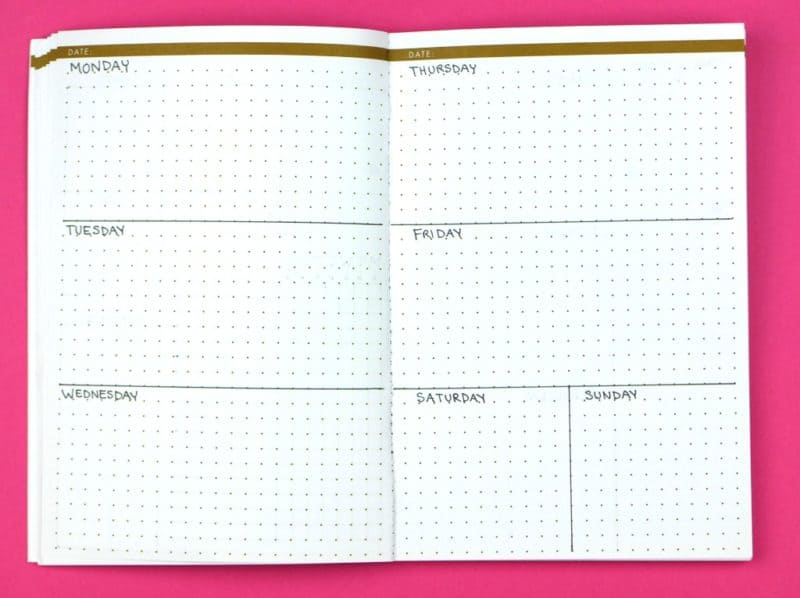
No doubt, this spread looks familiar. It’s the weekly format that was in almost every pre-printed academic planner you used in school.
*Side note: My middle school actually handed out academic planners at the beginning of the year (yep, with this layout), and we were graded on how well we used them each week. I’m terrible at math, but great at keeping up with a planner!
Consider this format if you:
Might not be right if you:
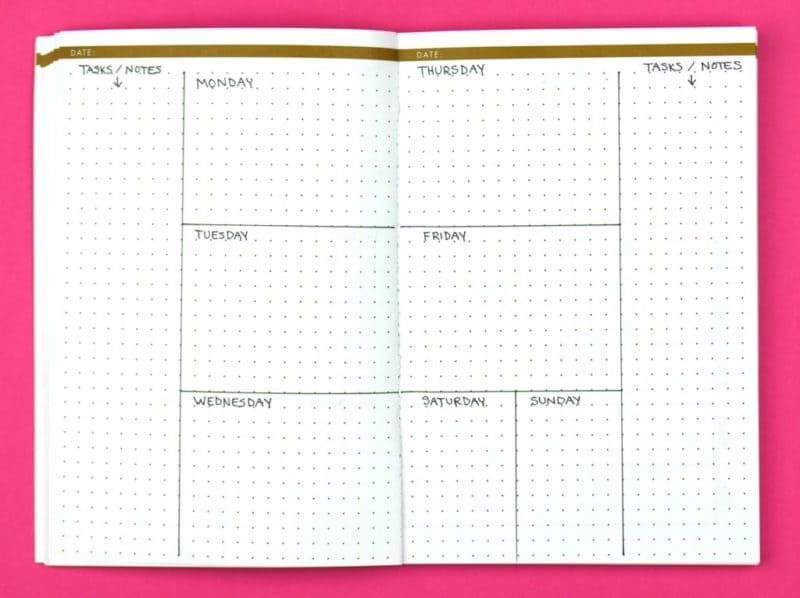
This format is a slight adjustment to the Big Easy. Since the days are smaller, there’s room in the margins of each page for tasks and notes.
Consider this format if you:
Might not be right if you:
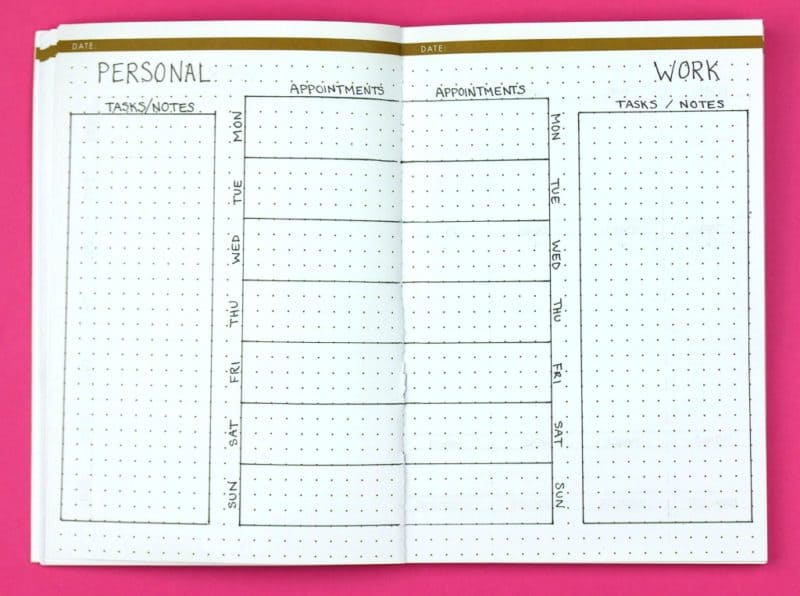
This spread wasn’t meant as a commentary on work/life balance, but it sure looks that way. Most of us juggle daily demands of our jobs and personal lives. Each page mirrors the other, allowing you to get a sense of your obligations at a glance.
Consider this format if you:
Might not be right if you:
Consider this format if you:
Might not be right if you:

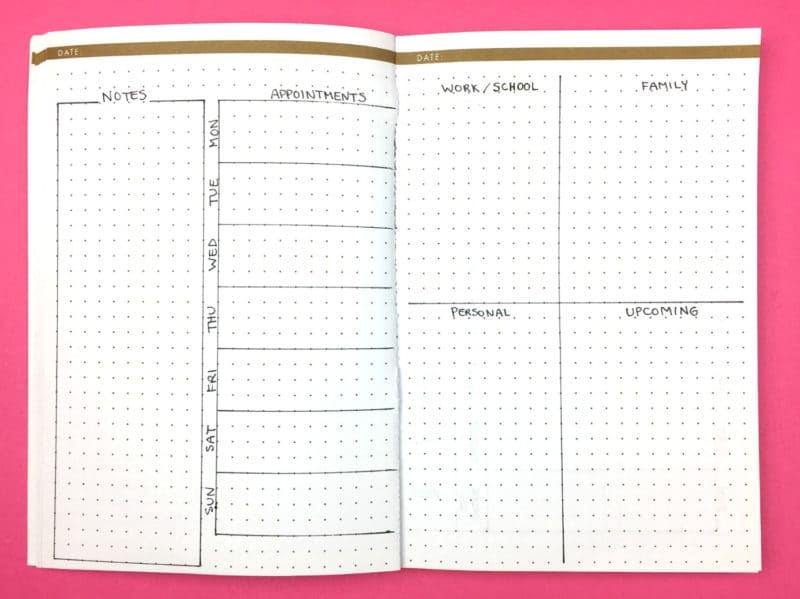
This format is very similar to the Split Personality with a few key differences. Instead of mirror pages, the appointments are all on the left and notes/tasks are all on the right page. It’s a subtle difference but it might make a big impact on how you think about your time. You can see appointments at a glance, or focus exclusively on tasks. Since the notes section encompasses both area of life, people with a lot of crossover between their work/personal lives might prefer this format over the Split Personality (designed to keep those lives separate).
Consider this format if you:
Might not be right if you:
Consider this format if you:
Might not be right if you:
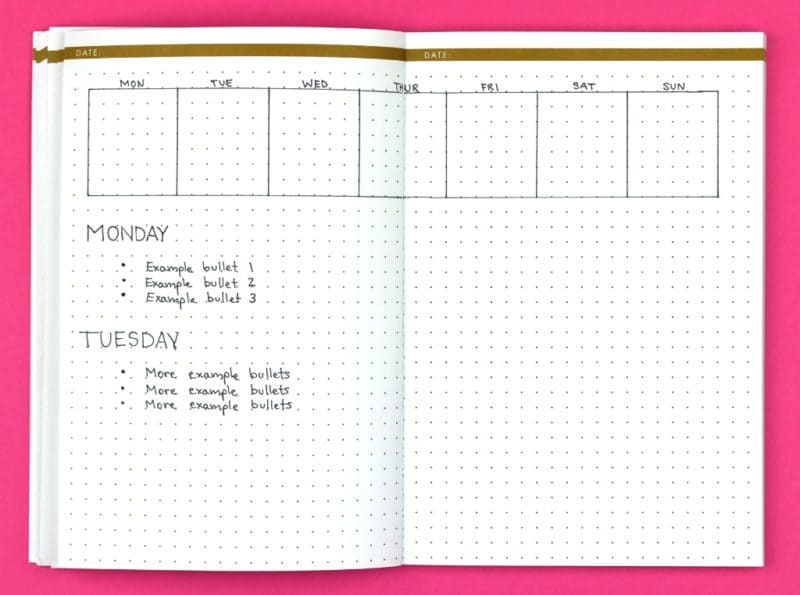
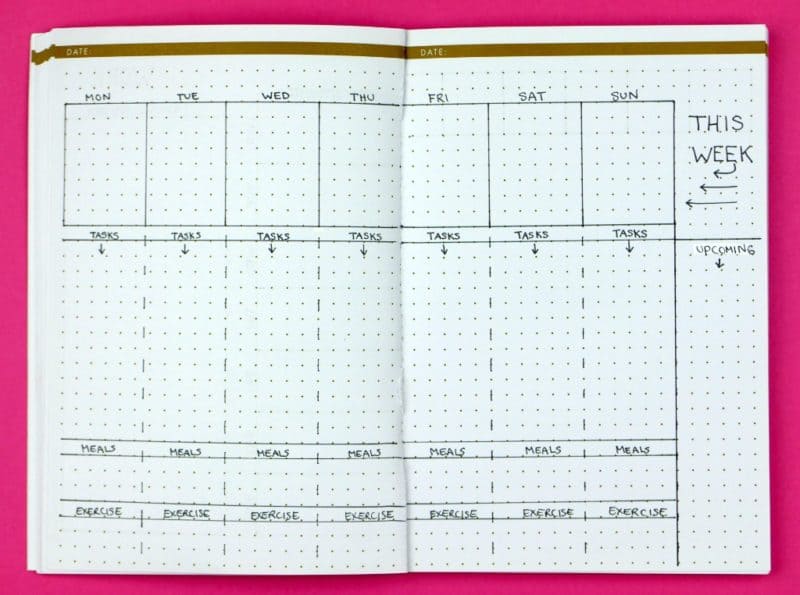
Maybe vertical layouts don’t do it for you. No problem. you can spread your appointments across the page horizontally, leaving plenty of space for bullets, notes, or dailies. The Headliner is the most basic horizontal format I could think of: a strip across the top for the week’s appointments, and wide open space for dailies. Doesn’t get much easier than that. *Keep in mind, you can also continue your dailies on the next page.
Consider this format if you:
Might not be right if you:
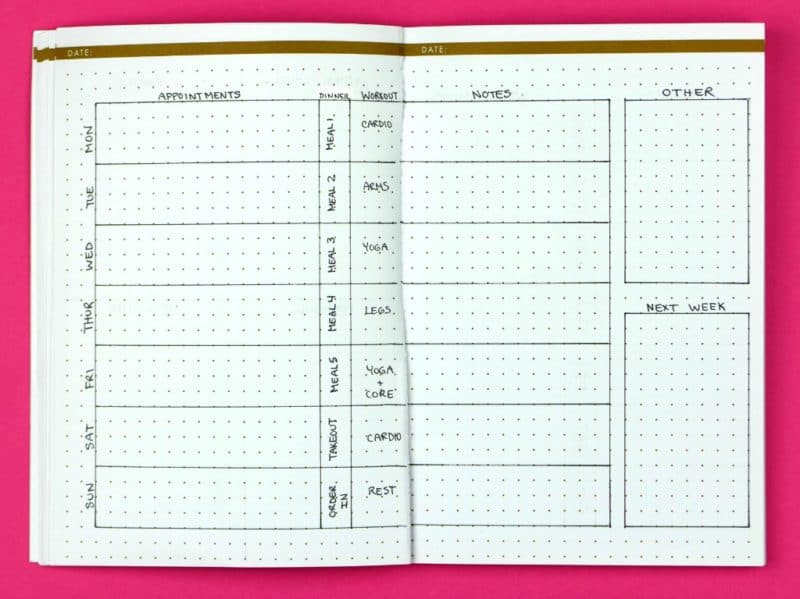
Everything has an assigned place, and you like it that way. Sound familiar? The Structured Sally might be your gal.
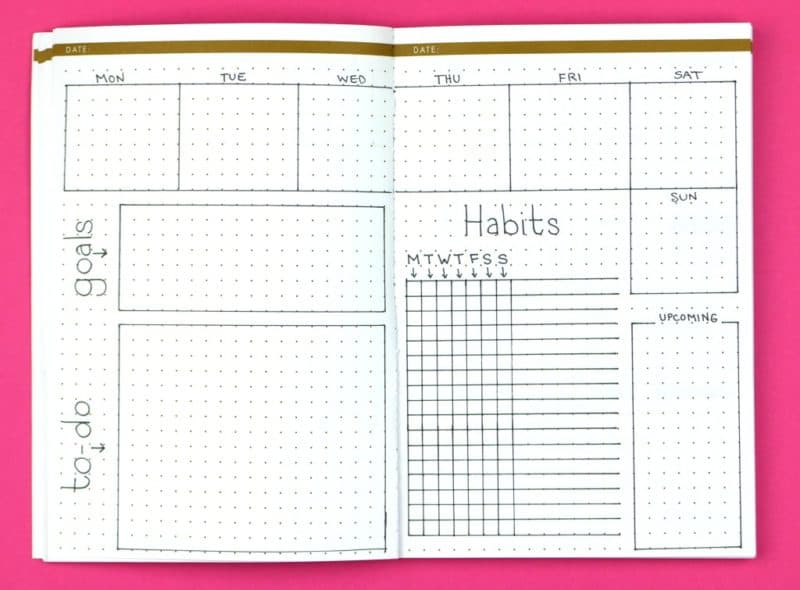
This spread is a modification on the Headliner. Dropping Sunday in the margin gives you a big more room for each day of the week, and you still have a large area below. You can break the space up however you like, but I chose to create large areas for habits and tasks.
It takes a little more time to make each week, but it can keep you on track, especially if you’re keeping up with daily tasks/habits. I adapted this habit grid from one Tiny Ray of Sunshine shared a while back. It’s become my go-to grid for recurring tasks & habits. Instead of recopying them each day, you can create one chart and check the box each day.
Consider this format if you:
Might not be right if you:
Take another look at The Row By Row (#5 above). Turn it on its side and it becomes the Day By Day (#10). This makes a big difference in how the spread functions. The Day By Day has more room for tasks in the vertical columns, and you may find your eyes are more accustomed to reading your schedule one direction or the other.
Consider this format if you:
Might not be right if you:
So, you’ve picked a weekly layout that looks good? Try it out, tinker with it, and adjust the parts that don’t work. If you’re artistic, embellish it to your liking. Don’t ever be afraid to toss something that isn’t working, even if it’s the middle of the week. I shared a picture on Instagram a while back where I crossed out an entire spread on Monday, turned the page, and started the week over. After all, one of the joys of Bullet Journaling is being able to make mistakes…
And start over with a fresh page.
Your turn to share! Comment below with which layout you use. Have a completely different spread you want to share? Post a photo on my Facebook page!
Subscribe to my newsletter for Page Flutter updates, posts, and announcements,
and FREE access to resources in the Page Flutter Vault!
Don’t worry, I only deliver the good stuff. No spam.


Megan Rutell is the blogger behind Page Flutter. She's also a writer, stationery lover, Air Force veteran, and homesick Colorado girl.


I’m just experimenting with weekly layouts for the first time, trying to work out what it is I want them to do for me so this has been very helpful.Thank you
I’m glad it was helpful! There are so many ways to use weeklies, this barely scrapes the surface. Thanks for your kind comment & happy journaling. 🙂
Deborah RyanYour top weekly layout is just what I have been trying to find. I don’t have more than 2-3 appointments on a day but I have a huge list of to – dos. My lists were getting all crunched together while my days had a lot of unused space in them. This way, I can have to – do this week and to – do in general. Thank you.
Hi, Deborah! I’m so glad it helped you. I’m the same way; my scheduled appointments are few, but my to-do list is insane. Thanks for stopping by and for your kind comment. 🙂
Sara HabetzThe middle school planner I thought only my school did this – I’m glad to know we weren’t the only ones subjected to it. I had one teacher who did a “planner check” every week to make sure we wrote down the homework, tests and assignments – and it was a math class. I HATED the planners we had to use at school – they were not quite A5 but still smaller than a letter-sized notebook; they had a holographic front and were super thick. Basically, the absolute worst.
Comments are closed.

As an Amazon Associate I earn from qualifying purchases.
I also participate in other affiliate programs and may earn commissions if you shop through the links used on this website.